DSLR cameras are becoming more popular, but many people don’t know how to post DSLR photos on Instagram. Here’s a quick guide on how to do it. First, you need to connect your DSLR camera to your computer.
Then, you’ll need to download the Instagram app and create an account. Once you’re logged in, you can select the photo that you want to upload from your camera. After that, you can add a caption and tags, just like any other photo on Instagram.
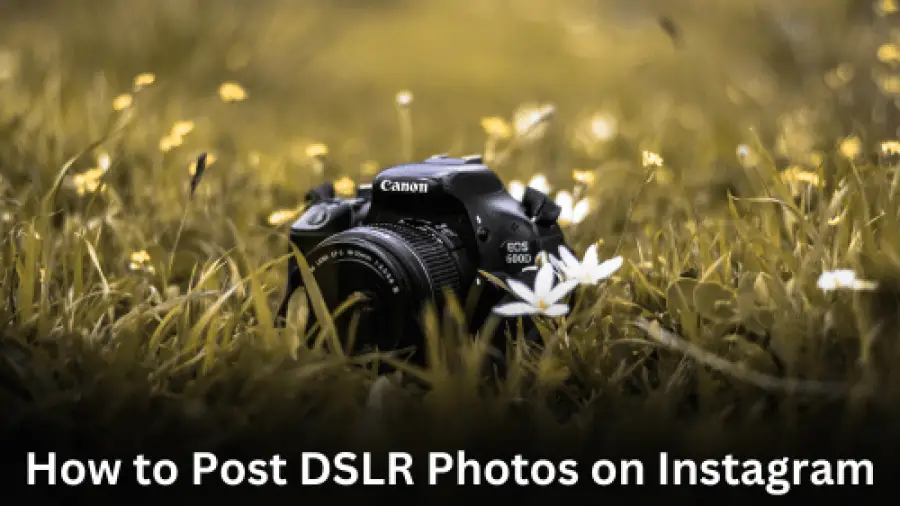
How to Post DSLR Photos on Instagram?
Keep in mind that DSLR photos tend to be much larger than regular smartphone photos, so they may take longer to upload. But once they’re up, they’ll look great!
- Find the photo you want to post on your DSLR camera
- Connect your DSLR camera to your computer using a USB cable
- Download the photo from your DSLR camera to your computer
- Edit the photo on your computer, if desired
- Open the Instagram app on your mobile device and sign in to your account
- Tap “+” at the bottom of the screen to add a new photo to Instagram
- 7 Select “Library” and choose the photo you downloaded from your DSLR camera
DSLR Photos to INSTAGRAM
How Do I Upload High Quality Photos to Instagram?
There are a few ways to upload high quality photos to Instagram. The first way is to use the Instagram app itself. If you have an iPhone, open the app and go to your camera roll.
Select the photo you want to upload, and then tap the share button in the bottom left corner. From there, select “Instagram” as your sharing option. This will open up a new window within the app where you can crop your photo and add filters before uploading it to your feed or story.
If you’re using an Android phone, things work a bit differently. Instead of going through your camera roll, you’ll need to open up the Instagram app and tap on the plus sign in the bottom middle of your screen.
This will bring up a menu of options – select “Library” at the top, which will show all of the photos and videos stored on your phone.
Find the photo you want to upload, tap on it, and then hit “Next” in the top right corner. From there, you can crop your photo and add filters before posting it to Instagram. The second way to upload high quality photos is by using third-party apps like Flume or Later .
These apps allow you to edit and optimize your photos for social media before sharing them with just a few taps. They make it easy to post directly to Instagram from your computer – no need for emailing yourself photos or anything like that! To get started with either of these apps, simply download them from their respective websites (links above) and create an account following their prompts.
Once you’ve done that, logging into each app with your Instagram credentials will give them permission to access your account so that they can post on your behalf.
Both Flume and Later offer free plans with limited features, but upgrading to their paid versions gives you access to more editing tools and additional functionality like scheduling posts ahead of time . If regularly posting high quality photos is important to you , investing in one of these apps is definitely worth considering .
How Do You Post Pictures on Instagram Without Losing Quality?
It’s no secret that one of the main reasons people use Instagram is to share photos and videos. And while the app makes it easy to post content, you may be wondering how to post pictures on Instagram without losing quality. The good news is that there are a few simple steps you can take to make sure your photos look their best on the platform.
Here’s what you need to know about posting pictures on Instagram without losing quality: 1. Use the correct file format. When it comes to posting pictures on Instagram, you want to make sure you’re using the correct file format.
The best file format for photos on Instagram is .JPEG, which offers lossless compression (meaning no detail is lost when the file is compressed).
2. Resize your photo before uploading.
Another important step in posting pictures on Instagram without losing quality is to resize your photo before uploading it. If you don’t resize your photo, Instagram will automatically compress it, which can lead to some loss of detail. To avoid this, resize your photo to 1080×1080 pixels before uploading it (you can do this easily in most editing apps or even in some smartphone apps).
3. Edit your photo before posting. Once you have your photo looking how you want it, it’s time to edit it for posting on Instagram. Again, this is something you can do easily in most editing apps or even in some smartphone apps built specifically for editing photos for social media platforms like Instagram.
Some basic edits you may want to consider include adjusting the brightness/contrast, sharpening the image, and adding a filter (if desired).
How Do I Post Pictures from My Camera to Instagram?
Assuming you would like a step-by-step guide on how to post pictures from your camera to Instagram:
1. Open the Instagram app and log in.
2. Tap on the “+” sign at the bottom of the screen, then tap “Library (iPhone) or Gallery (Android).”
3. Select the photo you’d like to upload, then tap “Next.”
4. Add a caption (optional).
How Do Professional Photographers Post on Instagram?
Assuming you would like tips on how to post like a professional photographer on Instagram:
1. Use a High-Quality Camera
If you want your photos to look professional, you need to use a high-quality camera.
Phone cameras just won’t cut it if you want your followers to take you seriously. Invest in a DSLR camera or even a point-and-shoot camera if you have the budget for it. This will make all the difference in the quality of your photos.
2. Take Your Time with Editing
Editing is an important step in the process of making your photos look professional. Take your time when editing and don’t be afraid to experiment with different filters and editing techniques until you find a style that suits you.
Remember, less is often more when it comes to editing so don’t go overboard!
3. Use Natural Light whenever Possible
Natural light is always going to give your photos a more natural look so try and take advantage of it as much as possible.
If you can, avoid using flash photography as this can often lead to washed out or artificial looking photos. If natural light isn’t an option, then make sure you know how to use your flash properly before using it!
4. Find Your Own Style
One of the most important things for any photographer is finding their own unique style. Experiment with different composition techniques, subject matter and aesthetics until you find something that reflects your own personal vision. Once you find your style, stick with it and continue developing it over time – this is what will make people remember your work!
How to Edit DSLR Photos for Instagram
As a budding photographer, you may be wondering how to edit your DSLR photos for Instagram. After all, we live in a world where filters and presets are all the rage. While there is nothing wrong with using them, your photos will stand out more if you take the time to edit them yourself.
Here are some tips on how to edit DSLR photos for Instagram: 1. Use Lightroom Presets If you want to give your photos a professional look, then consider using Lightroom presets.
These are essentially pre-made filters that you can apply with just a few clicks. There are tons of free and paid options available online, so take some time to experiment with different presets until you find one that you like.
Once you’ve found a preset you like, stick with it and use it consistently across all of your photos.
This will help create a cohesive feed that looks polished and put together.
2. Adjust the Exposure One of the most important aspects of any photo is the exposure.
This refers to how light or dark the overall image is. If your photo is too dark, it can look muddy and unappealing.
On the other hand, if it’s too light, it can look washed out and blown out.
To get the perfect exposure, start by adjusting the “exposure” slider in your editing software (such as Lightroom). Slowly move the slider until you’re happy with the results – keep in mind that less is more when it comes to exposure adjustments!
3. Play Around With The Contrast
In addition to adjusting the exposure, another way to make your DSLR photos pop is by playing around with the contrast settings. increasing contrast will make colors appear richer and brighter, while decreasing contrast will do the opposite – making colors appear muted and flat. As with exposure adjustments, be careful not to go overboard with contrast changes – otherwise your photo may start to look unnatural . 4 . Saturation Is Your Friend Saturation refers to how vibrant or dull colors appear in an image . Increasing saturation will make colors appear brighter , while decreasing saturation will do exactly what It says : It ‘ll make colors appear more dull . Again , be careful not To overdo It : You don’ t want your photo To Look Like A cartoon ! 5 . Sharpen Up Your Images
How to Upload High Quality Photos to Instagram 2022 Android
Are you looking for ways on how to upload high quality photos to Instagram in 2022? If so, then this blog post is for you! Here, we will provide detailed instructions on how to do just that.
Instagram is one of the most popular social media platforms today. It has over 1 billion monthly active users as of April 2020. And with its popularity, more and more people are using it to share their photos and stories.
If you’re one of those who wants to share high quality photos on Instagram, then you’ll need to know how to properly upload them. Here are some tips: 1. Use an app like Camera+ 2 or VSCO Cam to edit your photos before uploading them onto Instagram.
These apps will allow you to make adjustments such as exposure, white balance, etc. which will help improve the overall quality of your photo. 2.
When exporting your edited photo from these apps, make sure to select the “High” or “Maximum” export setting in order to preserve its quality when uploading it onto Instagram later on. 3. When posting your photo onto Instagram, don’t forget to use the appropriate hashtags so that others can easily find and view your work!
Hashtags such as #instagood #photooftheday #picoftheday are always popular choices among photographers on Instagram.
How to Upload High Quality Photos to Instagram Settings
Are you looking to upload high quality photos to Instagram but aren’t quite sure how? Well, you’ve come to the right place! In this blog post, we’ll walk you through the steps on how to change your settings so that all of your photos are uploaded in high quality.
Here’s how to do it:
1. Open up the Instagram app on your phone and go to your profile page.
2. Tap on the “Options” icon in the top right-hand corner (it looks like three horizontal lines).
3. Scroll down and tap on “Account”.
4. Under “Account Settings”, select “Original Photos”. This will ensure that all future photos you upload are in their original resolution/quality.
Conclusion
Are you a DSLR photographer looking to start sharing your photos on Instagram? Here’s a quick guide on how to get started!
1. Connect your DSLR to your computer and open up the Instagram app.
2. Select the ‘Upload Photo’ option and choose the image you want to share.
3. Edit your photo using Instagram’s filters and tools, then add a caption and tags before posting.
4. That’s it!
Now all your followers can see your beautiful DSLR photos on Instagram.