Removing a hard drive from a laptop is not as difficult as it may sound. How To Remove Hard Drive From Laptop? There are just a few steps that need to be followed and the process can be completed in a matter of minutes. The first thing that needs to be done is to shut down the computer and disconnect all of the cables that are attached to it.
Once this is done, the next step is to remove the battery from the computer. After the battery has been removed, locate the hard drive bay on the bottom of the laptop. The hard drive will either be screwed into place or it will be held in with plastic clips.
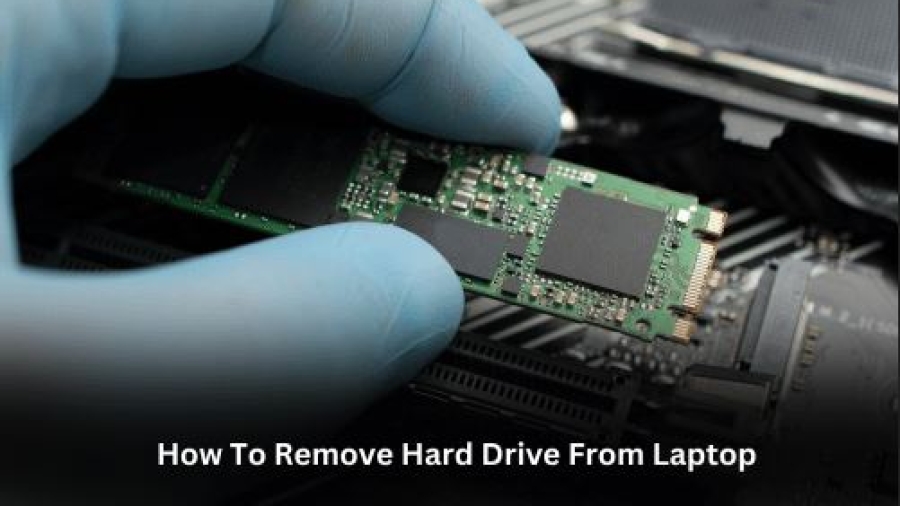
How To Remove Hard Drive From Laptop?
If it is screwed in, simply remove the screws and slide out the hard drive. If it is held in with clips, gently push on them until they release and then pull out the hard drive.
- Power down your laptop and unplug the power cord from the wall outlet or surge protector
- Turn your laptop over so that the bottom is facing up
- Locate the hard drive cover on the bottom of the laptop—this will be a small door or panel that can be removed to access the hard drive
- Use a Phillips head screwdriver to remove any screws holding the hard drive cover in place
- Set these screws aside in a safe place; you will need to re-attach them later
- Gently remove the hard drive cover, taking care not to lose any small pieces or springs that may have been attached to it
- Locate the hard drive itself inside the laptop case—it will be mounted in one of the many bays available inside most laptops cases (usually on either side of where the optical drive is located)
- Remove any screws holding the hard drive in place, then gently slide it out of its bay until it is completely removed from your laptop
How to Remove a Hard Drive From a Laptop Computer
How Do I Remove the Hard Drive from My Laptop
Removing the hard drive from a laptop is a pretty simple process that anyone can do with just a few tools. Here’s what you’ll need: – A Phillips head screwdriver
– A small flathead screwdriver (optional) – An anti-static wrist strap (optional but recommended) Once you have all of your tools, the first thing you’ll want to do is power down your laptop and unplug it from any power source.
Next, flip it over and remove any screws that are holding the back panel in place. With the back panel removed, you should now be able to see the hard drive. There will likely be two screws holding the hard drive in place – one on each side. Can battery affect Laptop performance? You need to know about about when you use it.
Remove these screws and then gently pull the hard drive out of its housing. You may need to use the small flathead screwdriver to help pry it out if it’s being stubborn. With the hard drive successfully removed, you can now do whatever you need to with it – whether that’s replacing it with a new one or simply accessing its data.
Just remember to reattach all panels and screws before powering your laptop back on!
Next, Remove Any Screws Or Fasteners That are Holding the Hard Drive in Place
If you’re upgrading or replacing your hard drive, the first thing you need to do is remove the old one. This process will vary depending on your computer’s make and model, but in general, you’ll need to open up your computer case and locate the hard drive. Next, remove any screws or fasteners that are holding the hard drive in place.
Once the hard drive is loose, you can simply pull it out of its slot and set it aside. If you’re reusing the old hard drive, be sure to properly label all of the cables and connectors so you can easily hook everything back up later.
If you want to purchase a Laptop then you may check the Best Laptops For Computer Science Students On A Budget, Best Laptops under 700 for Gaming, and the Best budget Gaming Laptops under 1000.
Finally, Carefully Slide the Hard Drive Out of Its Housing
Assuming you are referring to removing a hard drive from a desktop computer:
First, shut down your computer and unplug all cables. Next, open up the case by unscrewing the side panel.
Depending on your computer, there may be one or more screws holding the hard drive in place. Remove these screws and carefully slide the hard drive out of its housing.
How do I remove my laptop hard drive before recycling?
Before recycling your laptop, follow these steps to remove the hard drive:
- Power Down: Turn off your laptop and unplug it from any power source.
- Remove Battery (if possible): If your laptop has a removable battery, take it out to ensure complete power isolation.
- Locate Hard Drive: Check your laptop’s manual or online resources to locate the hard drive compartment. It’s usually a panel on the bottom of the laptop.
- Unscrew the Panel: Use a screwdriver to remove the screws holding the panel covering the hard drive.
- Disconnect Cables: Gently disconnect any cables connected to the hard drive, such as data and power cables.
- Remove Hard Drive: Slide out or lift the hard drive from its slot. Be careful not to force anything.
- Secure Hard Drive: Place the removed hard drive in an anti-static bag or wrap it in an anti-static material to prevent electrostatic damage.
- Properly Dispose: Take the removed hard drive to an electronics recycling center or a facility that handles electronic waste for proper disposal.
It is crucial to keep in mind the importance of data security. If there is any sensitive data stored on your hard drive, it is advisable to securely erase or physically destroy it prior to recycling.
Conclusion
If you need to replace or upgrade your hard drive, or if your laptop is having issues and you want to see if it’s the hard drive causing the problem, you’ll need to remove the hard drive from your laptop. This process is different for every type of laptop, but in general, you’ll need to unscrew the back panel of your laptop and then disconnect the cables connecting the hard drive to the motherboard. Once the hard drive is removed, you can either install a new one or put the old one in an external enclosure so that you can access its data.