Logitech is one of the most popular brands when it comes to computer peripherals, and their M570 mouse is a great option for those who want a reliable wireless mouse. You may get here on How to Setup Logitech M570 Mouse.
- Download the Logitech software from the website
- Connect the mouse to the computer with the USB cable
- Install the software and follow the on-screen instructions
- Customize your mouse settings as desired
Logitech M570 Manual
If you’re looking for information on the Logitech M570 Manual, this is the post for you. We’ll provide detailed instructions on how to use this manual, as well as some helpful tips and tricks. The Logitech M570 is a wireless trackball mouse that is designed for comfort and ease of use.
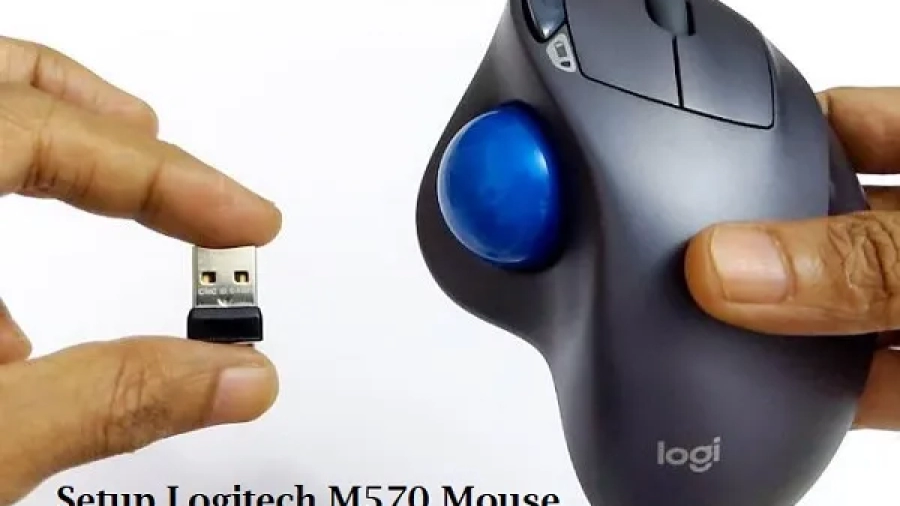
The mouse has a detachable wrist rest and an ergonomic design that makes it comfortable to use for extended periods of time. The Logitech M570 also features a scroll wheel and two buttons that can be programmed to perform different functions. To get started using your Logitech M570, simply insert the AA batteries into the mouse (included) and connect the USB receiver to your computer’s USB port.
How to Setup Logitech M570 Mouse Manual setup
Once connected, your mouse will be ready to use. If you need help connecting your mouse or have any other questions, refer to the Quick Start Guide that came with your product. Now let’s go over some of the basic functions of the Logitech M570:
The left button on the top of the mouse is used to select items or open programs. You can also double-click this button to launch programs or open files. The right button can be used to bring up a context menu in Windows (similar to right-clicking with your finger).
This button can also be programmed to perform other functions through the Mouse & Trackball Settings in Control Panel. The scroll wheel located between the left and right buttons can be used to scroll up and down pages or documents. You can also tilt the scroll wheel left or right to move back and forth between webpages or slideshows .
If you press down on the scroll wheel, it will act as a third button (which can be programmed through Mouse & Trackball Settings). Finally, there are two thumb buttons located on either side of the trackball. These buttons are typically programmed as “Back” and “Forward” buttons for web browsers .
However, they can be customized through Mouse & Trackball Settings in Control Panel . That covers all of the basic functions of the Logitech M570!
Logitech M570 Not Pairing
If you have a Logitech M570 wireless trackball and it’s not pairing with your computer, there are a few things you can try. First, make sure that the batteries in the trackball are fresh and correctly installed. Next, try resetting the trackball by pressing the reset button on the bottom for three seconds.
If that doesn’t work, try unplugging the USB receiver and plugging it back in. Finally, if all else fails, you can try connecting the trackball to a different USB port or even a different computer to see if it will pair.
Logitech M570 Driver
Logitech M570 Driver: The Logitech M570 is a wireless trackball that comes with its own USB receiver and software. The device is primarily designed for use with computers, but can also be used with some smartphones and tablets.
The Logitech M570 has been released in 2009 and is still available for purchase today. The current version of the software is 2.02.23 and was released on July 26th, 2017. This particular mouse uses an optical sensor to track movement instead of a traditional ball mouse.
This means there are no moving parts inside the device that can break or become dirty over time. The optical sensor also allows for greater precision when using the mouse. Another advantage of the Logitech M570 is that it includes a detachable wrist rest which can help reduce fatigue during extended use.
In order to get started using the Logitech M570, users will need to install the driver onto their computer first. This can be done by visiting the official Logitech website and downloading the driver from there. Once the driver has been installed, users can then connect the USB receiver to their computer and begin using the mouse right away.
If you want to purchase a Monitor then you may check the Best Mouse For Chromebook, Best Mouse for iMac, Top 09 Best Mouse for Auto CAD, and the Best Mouse For Programming.
Logitech M570 Unifying Software
Logitech M570 Unifying Software is a software program that lets you connect up to six compatible Logitech wireless devices to one computer using just one USB receiver. You can also use the software to manage your devices’ settings and keep track of battery life. The Logitech Unifying Software is available for Windows and Mac computers.
Connect Logitech M570 Without Dongle
If you have a Logitech M570 trackball mouse, you may be wondering how to connect it without the dongle. The good news is that it’s actually quite easy to do! Here’s a step-by-step guide:
1. Make sure your Logitech M570 is powered off.
2. Find the Unifying receiver that came with your mouse (it should be small and black). If you don’t have the receiver, you can purchase one here.
3. Plug the Unifying receiver into an available USB port on your computer.
4. Turn on your Logitech M570 trackball mouse.
5. That’s it!
Your mouse should now be successfully connected without the need for a dongle. Enjoy!
How Do I Connect My Logitech M570 to My Laptop?
Assuming you would like a step-by-step guide on how to connect your Logitech M570 to your laptop:
1. Start by plugging the Unifying receiver into a USB port on your computer.
2. Next, turn on your mouse and hold down the button on the bottom of the device.
3. The light on the bottom of the mouse will start blinking, indicating that it is in pairing mode.
4. On your computer, open up the Logitech Unifying software. This can be found in either the Applications folder (Mac) or Programs and Features list (Windows).
5. Once open, click “Add Devices” in order to begin pairing your devices.
6. A message should pop up saying “Found new hardware: Logitech Unifying Receiver.” Click “Next” to continue.
7. Now, select your region and language preferences before clicking “Next” again.
8. Finally, click “Finish” and you should see your M570 listed under Connected Devices!
How Do You Set Up a Logitech Trackball Mouse?
If you’re looking for an alternative to a traditional mouse, Logitech offers a line of trackball mice that can be a great option, especially if you have limited desk space. Here’s a quick guide on how to set up your Logitech trackball mouse.
First, connect the included USB receiver to your computer.
Then, insert the batteries into the mouse (two AA batteries are required). Once the batteries are in place, press the power button on the bottom of the mouse to turn it on.
Next, use the Logitech Options software to customize your trackball experience.
This software is available for free download from Logitech’s website. With Options installed, you can assign different functions to each button on the mouse, as well as adjust the cursor speed and other settings.
Once you have everything customized to your liking, you’re ready to start using your new trackball mouse!
How Do I Reset My Logitech M570 Mouse?
If your Logitech M570 mouse is not working properly, you may need to reset it. Here’s how to do it:
1. Unplug the wireless receiver from your computer.
2. Remove the batteries from the mouse.
3. Wait for about 10 seconds and then reinsert the batteries into the mouse.
4. Plug in the wireless receiver into your computer again.
5. Now try using the mouse and see if it works properly.
How Do I Setup My Logitech Mouse?
Assuming you would like a blog post discussing how to set up a Logitech mouse:
“How do I setup my Logitech mouse?”
If you just bought a new Logitech mouse, or are using one for the first time, you may be wondering how to go about setting it up.
Below are simple instructions on how to get your Logitech mouse working properly.
First, connect the mouse to your computer via the USB port. Next, open up your Start menu and find the Control Panel.
Once in the Control Panel, locate and select the Mouse icon. In the Mouse Properties window that appears, click on the tab labeled “Buttons.” Here you can choose whether you want your buttons to perform their default functions, or if you would like to enable left-handed use or other button customization options.
Next, still in the Mouse Properties window, click on the “Pointer Options” tab. Here you can adjust pointer speed and enable pointer trails if desired. If you find that your cursor is moving too fast or too slow for comfort, this is where you can change its speed.
Finally, click on “Apply” and then “OK” to save your changes and exit out of the Mouse Properties window. Your Logitech mouse is now ready to use!
Last Word
If you’re looking to improve your computer productivity, one of the best ways is to invest in a good mouse. The Logitech M570 is one of the top models on the market and setting it up is easy. Here’s a quick guide on how to do it:
First, connect the USB receiver to an available port on your computer. Then, insert the batteries into the mouse (two AA batteries are required). Once that’s done, simply press the connect button on both the mouse and receiver and they should sync up automatically.
Now that your mouse is connected, you can start using it right away. The Logitech M570 has a lot of great features including laser tracking, five programmable buttons, and a scroll wheel. If you want to customize any of these settings or create new ones, you can do so by downloading Logitech Options software from their website.